How to place G1000 screens from MSFS onto Sim Gauges G1000 devices?
Share
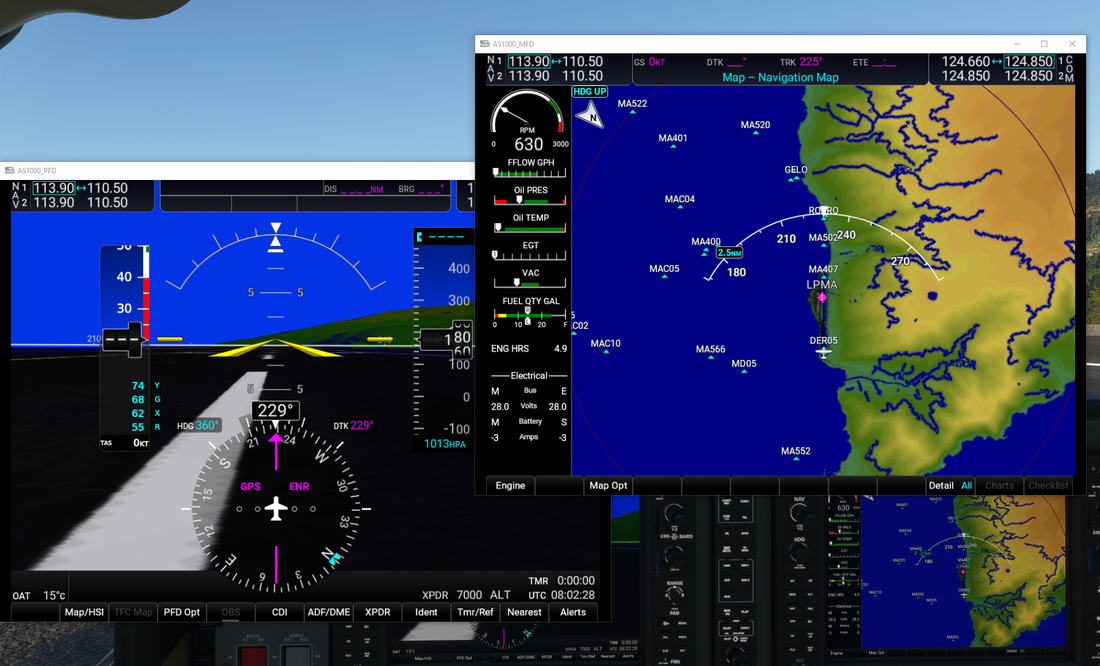
Below you can find a easy guide on how to place G1000 screens from Microsoft Flight Simulator (MSFS) onto Sim Gauges G1000 devices. There are two options: a manual setup and an automatic setup using the MSFS Pop Out Panel Manager.
Method 1: Manual placing displays on Sim Gauges G1000 devices
Begin by launching Microsoft Flight Simulator and connecting your Sim Gauges devices to your computer by HDMIs, then start a flight in an aircraft equipped with the G1000.
1. Accessing the G1000 Panels:
- Press Right Alt and click on the G1000 PFD (Primary Flight Display) or MFD (Multi-Function Display) screen in your plane in MSFS. This action will 'pop out' the selected display into a separate window.
2. Position the Pop-Out Window:
- Drag the popped-out window to the desired Sim Gauges G1000 display.
3. Adjusting the Size:
- Pres Left Alt+ Enter on the Sim Gauges G1000 display to make the window fit the screen
4. Repeat for Additional Panels:
- If you need both the PFD and MFD, repeat the steps to pop out and position the second display.
Method 2: Automatic Setup Using MSFS Pop Out Panel Manager
For a more streamlined and efficient setup, consider using the MSFS Pop Out Panel Manager, a third-party application designed to simplify the process. - Link to app - https://pl.flightsim.to/file/35759/msfs-pop-out-panel-manager
I hope that the above article was useful. If you will have any further questions or requests please do not hesitate to contact us.
Blue sky!
Sim Gauges Team.

